Mushroom Gravy

This all-purpose gravy tastes great on everything: mashed potatoes, roasted Portobello mushroom steaks or a piece of bread to soak up the last remains of your dinner plate.

DSC_0624

Porcini mushrooms are essential for this gravy and should not be skipped. I got mine from Tutti Frutti in Kensington Market. It is a part health food store but has a good selection of hard to find bulk items.

Makes 2 cups

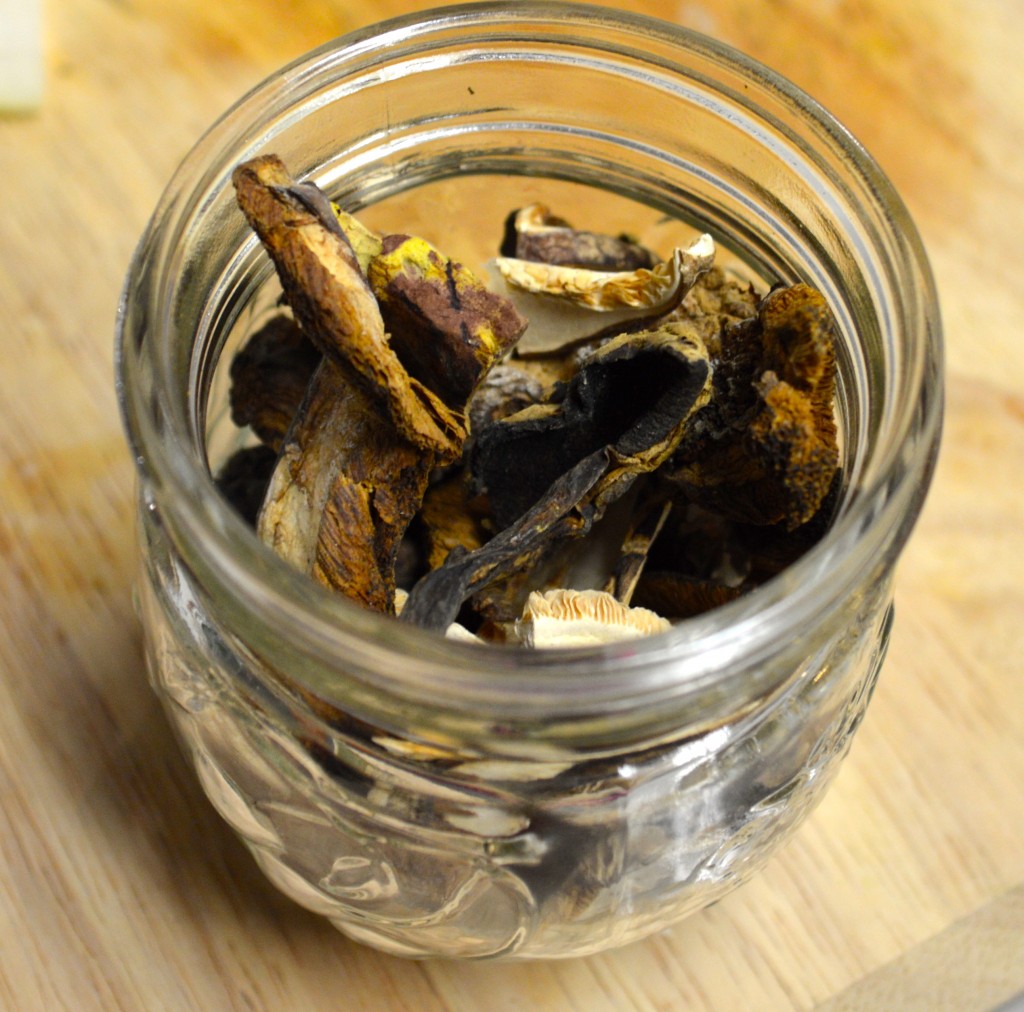
  •  ¼ ounce dried porcini mushrooms
  • 1-tablespoon extra virgin olive oil
  • 6-8 white button or cremini mushrooms, chopped small (about 1 cup chopped)
  • 1 small carrot, peeled and chopped small (about ½ cup chopped)
  • 1 rib of celery, chopped small (about ½ cup chopped)
  • 1 small onion, peeled and chopped small (about 1 cup chopped)
  • 2 tablespoons Earth Balance Traditional Butter
  • 3 tablespoons all purpose flour
  • 1/3 cup dry sherry or dry white wine
  • 4 cups low sodium vegetable broth
  • 1 bay leaf
  • ½ teaspoon fresh thyme
  • ¾ teaspoon kosher salt
  • ½ teaspoon cracked black pepper

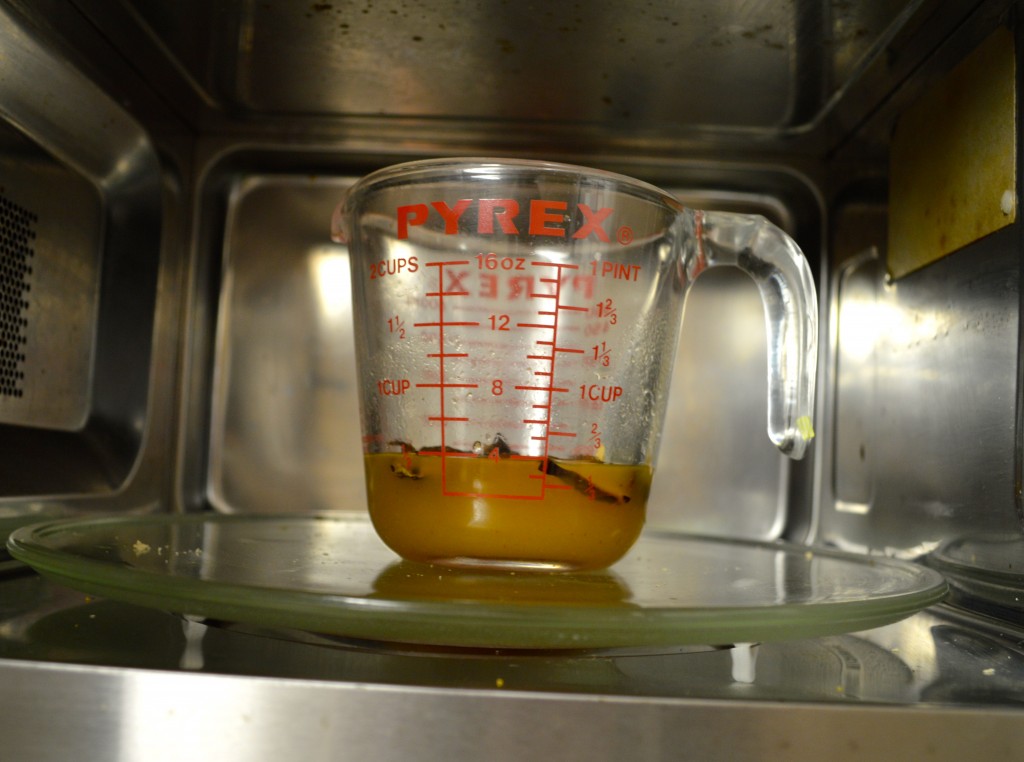
In a small pot, add the vegetable stock and keep warm over low heat. Add porcini mushroom and 1/2 cup of the vegetable stock to a Pyrex measuring cup. Place in microwave for 1 minute until steamy. Let sit for 3 minutes.

DSC_0626

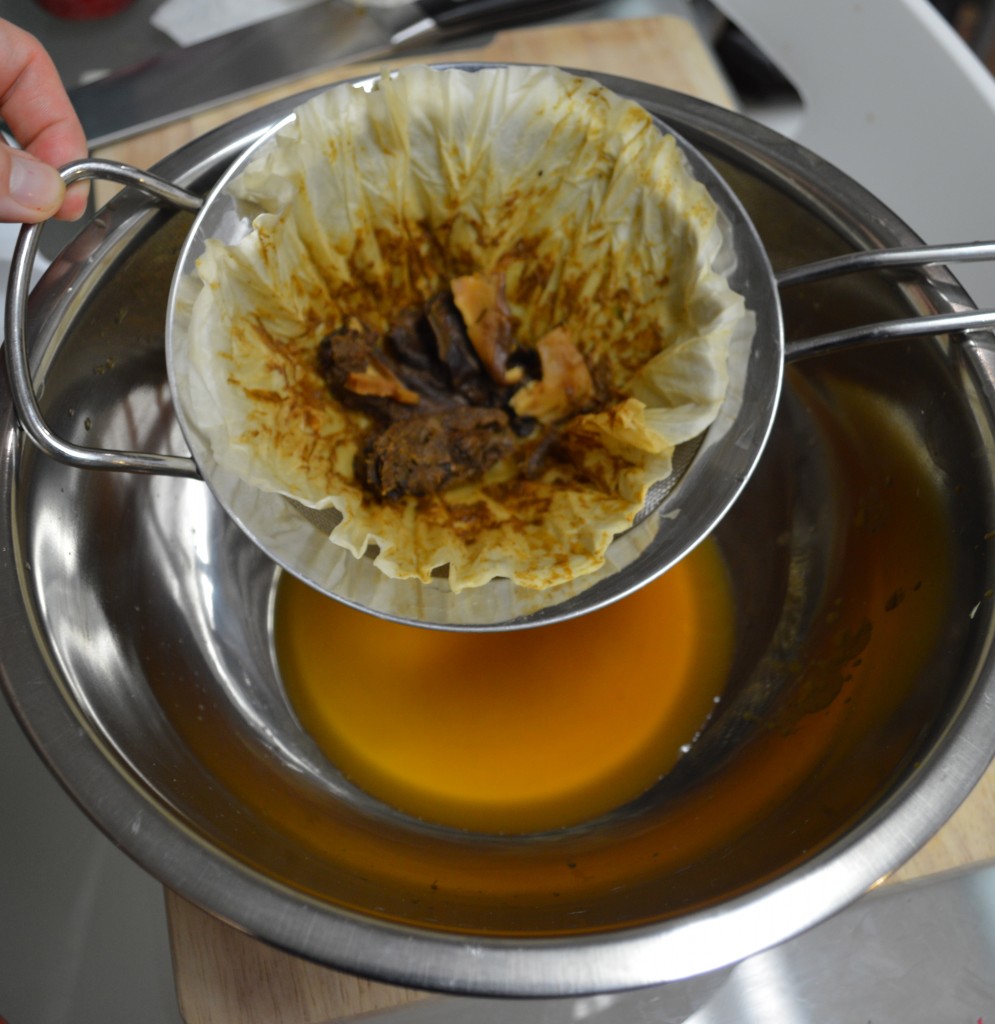
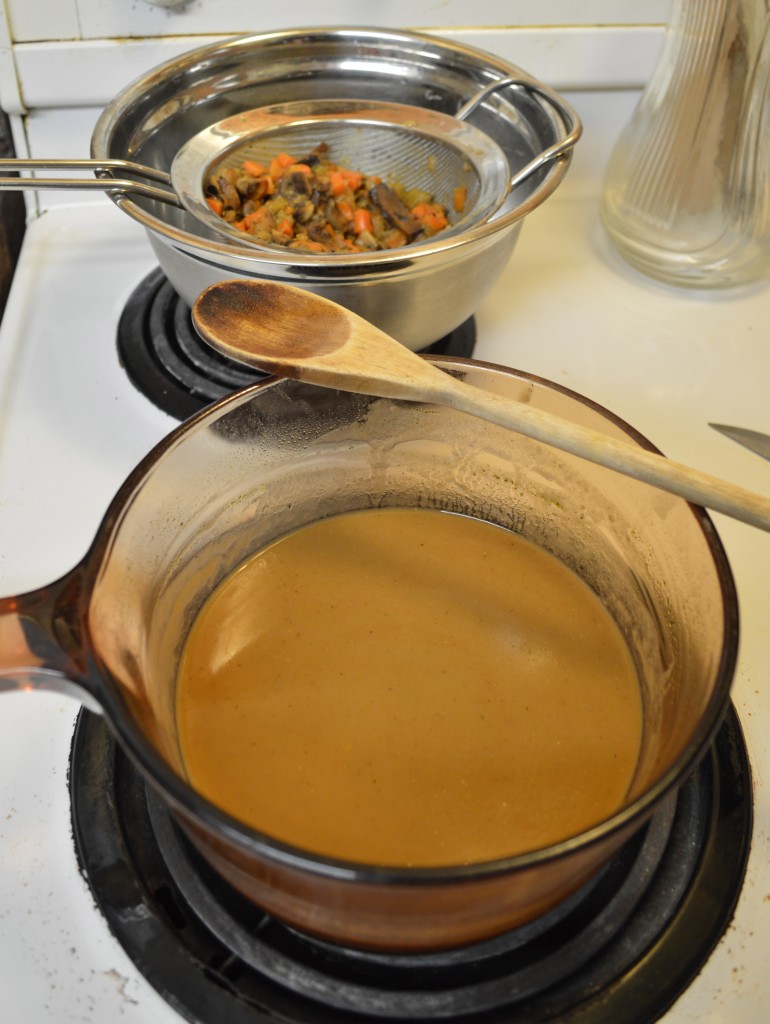
Strain the mushroom over a coffee filter lined fine mesh strainer. The mushrooms can be very gritty which you don’t want in your gravy. When cool enough to handle, gently squeeze the coffee filter to get most of the liquid out. Take mushrooms out of the strainer and chop finely. Set aside the mushrooms and the stock. Throw away the coffee filter.

DSC_0632

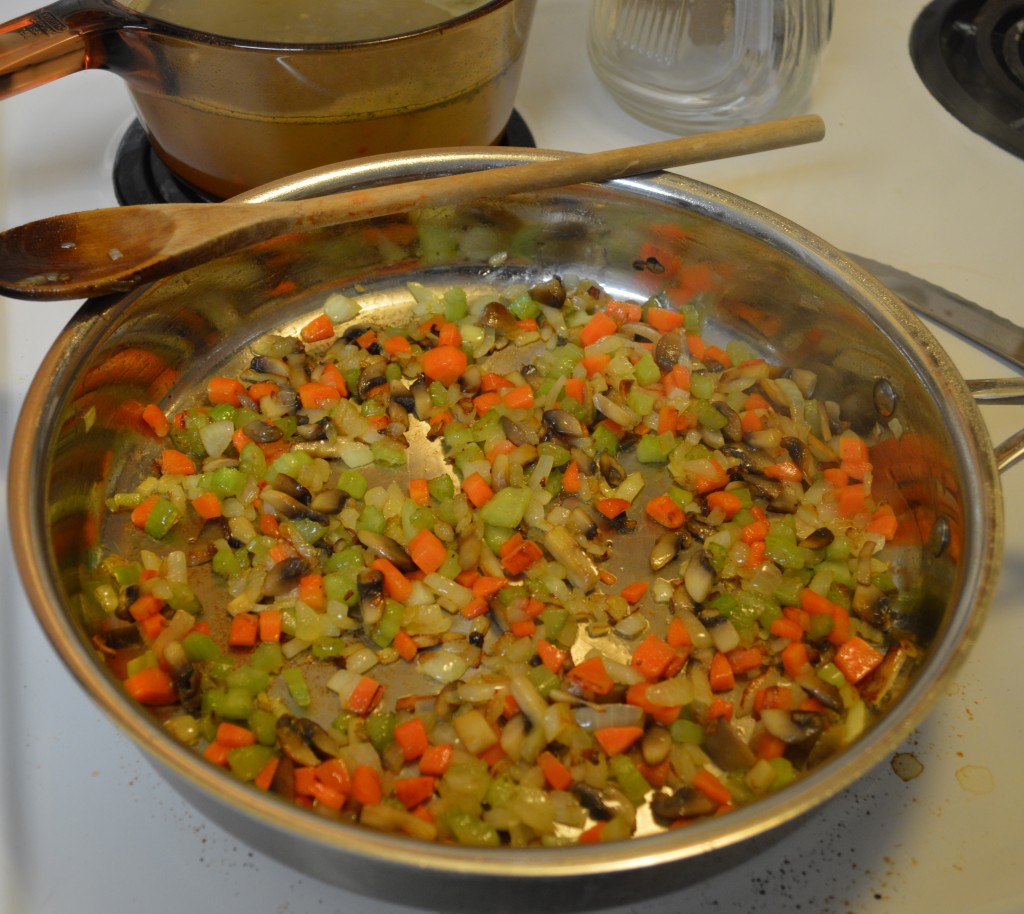
In a non-stick skillet heat the olive oil over medium heat until shimmering. Add the vegetables (except the porcinis) and cook until slightly browned, about 11 minutes. Take off heat and set aside.

DSC_0716

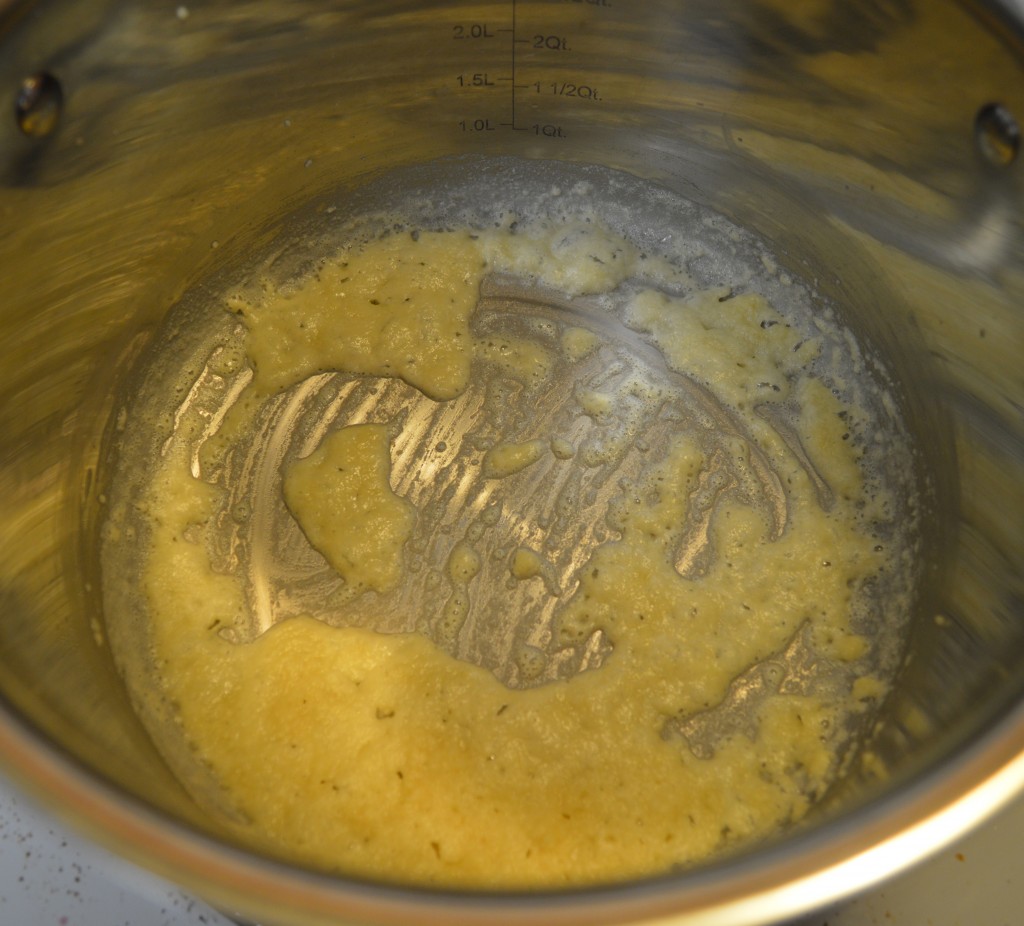
In medium saucepan, melt the butter over medium heat until bubbly. Add the flour and whisk until well combined and golden in colour, about 3 minutes. Do not let it brown or burn but it shouldn’t have a raw flour smell to it. If you notice it is cooking too fast turn down your heat.

DSC_0637


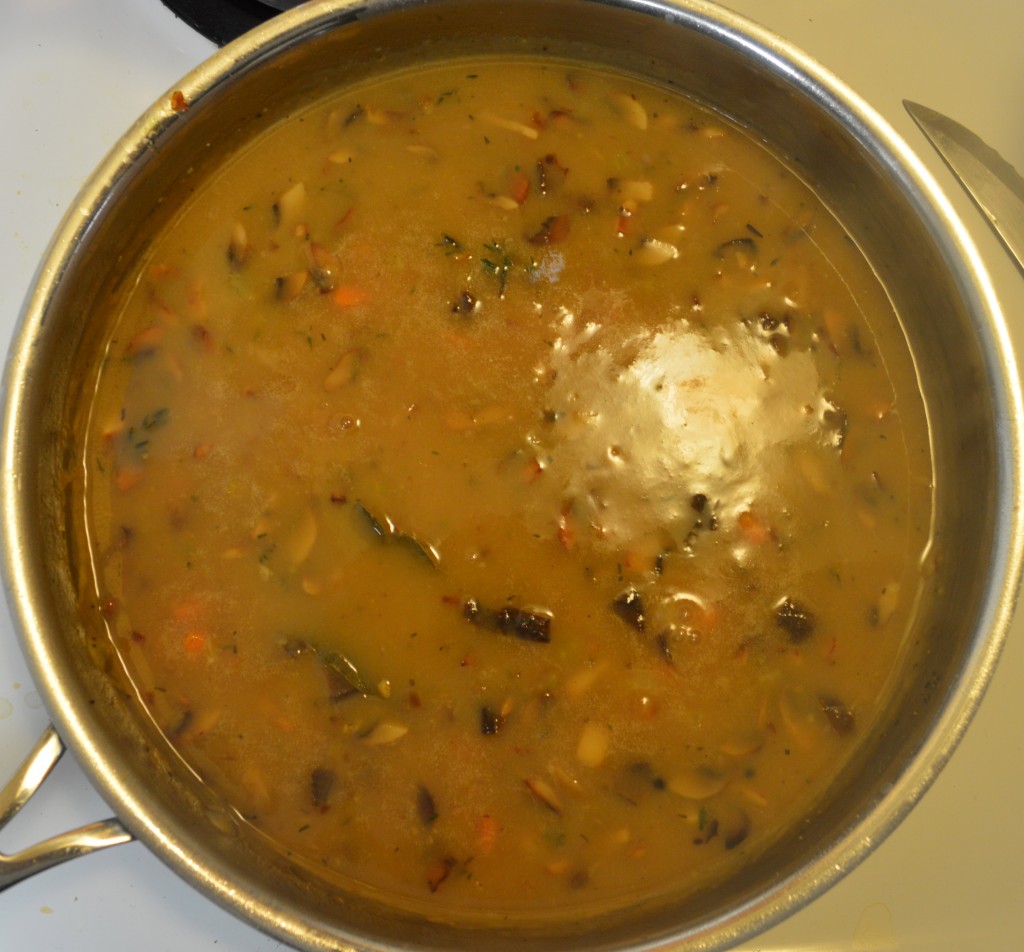
Add the vegetables including the porcini mushrooms to the saucepan and coat with the roux. When the vegetables are coated with the roux, slowly add the sherry or wine whisking constantly, it will be bubbling so please be careful. Let simmer for 1 minute. In a steady stream, slowly add the vegetable stock including the porcini stock and whisking constantly. Add the bay leaf and thyme. Bring back up to a low boil and reduce heat to medium low, stirring occasionally. Allow to thicken and reduce to about 3 cups.

DSC_0721


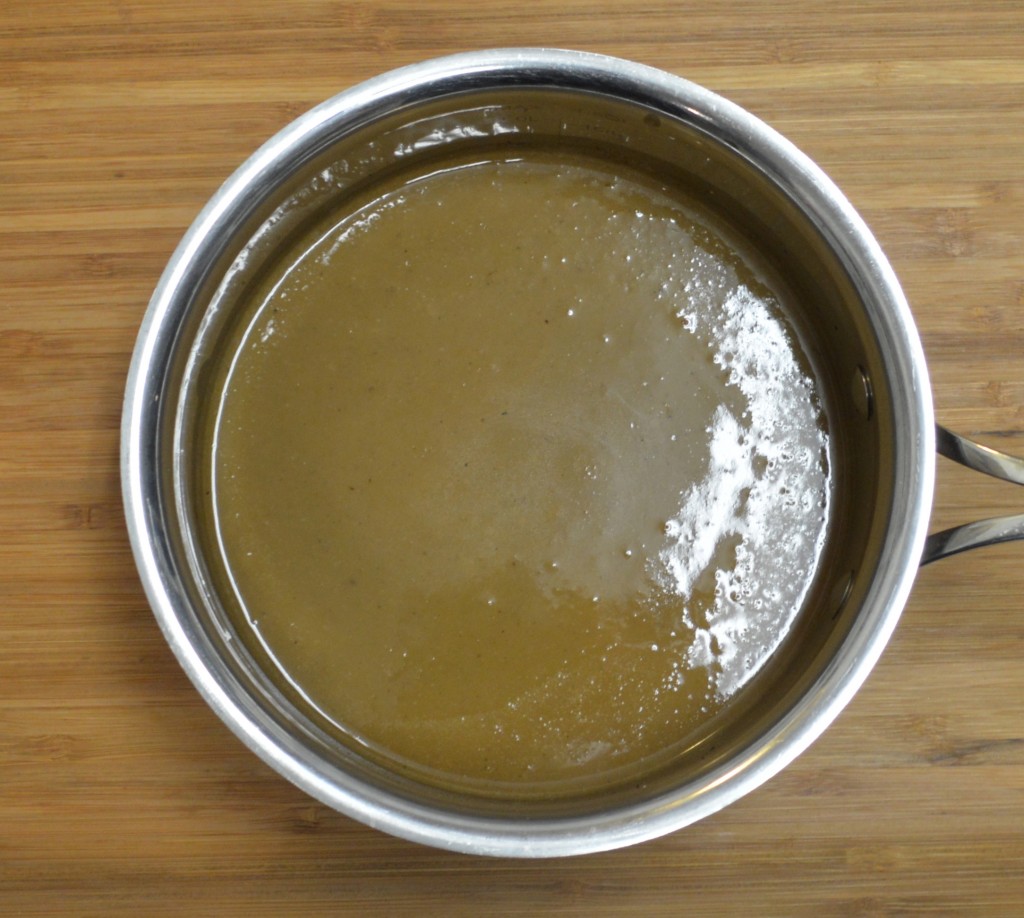
Strain gravy through a fine mesh strainer into a clean saucepan and press as much gravy as you can out of the vegetables. The solids can be thrown away after you strain them. Season with salt and pepper and serve piping hot.

DSC_0722


DSC_0816

Who needs beef and pan drippings when there is a gravy just as rich as this without the need for meat? What is your favourite thing to put gravy on?

Mashed Yukon Gold Potato

Most people I know don’t look up a recipe for mashed potatoes and I never did either until I had to write one. I began with the basic: potato choice. High starch is key I read when choosing a potato to mash. I like Yukon gold potatoes because of their easily peel able thin skins and their buttery colour and flavour. I don’t recommend low starch potatoes like red skin, not that they can’t be mashed but I wanted a fluffy traditional dish.

Now for the cooking process. I mean, just cut it up into cubes and add to boiling water right? Nope not these spuds. I once saw on a Food Network show the host (I can’t for the life of me remember who) put the potatoes whole unpeeled in a steamer basket. I have never in my life seen potatoes cooked this way but the potatoes looked pretty good. After some Googling, I read that steaming or boiling them with their skins on reducing the surface area of absorbing water. Waterlogged potatoes are gluey when mashed and certainly not what I wanted. Unfortunately, I do not own a steamer basket large enough to accommodate the amount of potatoes I wanted (2 pounds). I choose to boil them in their skins and it worked perfectly. Quick trip under the cold tap water and the skins peeled off very easily.

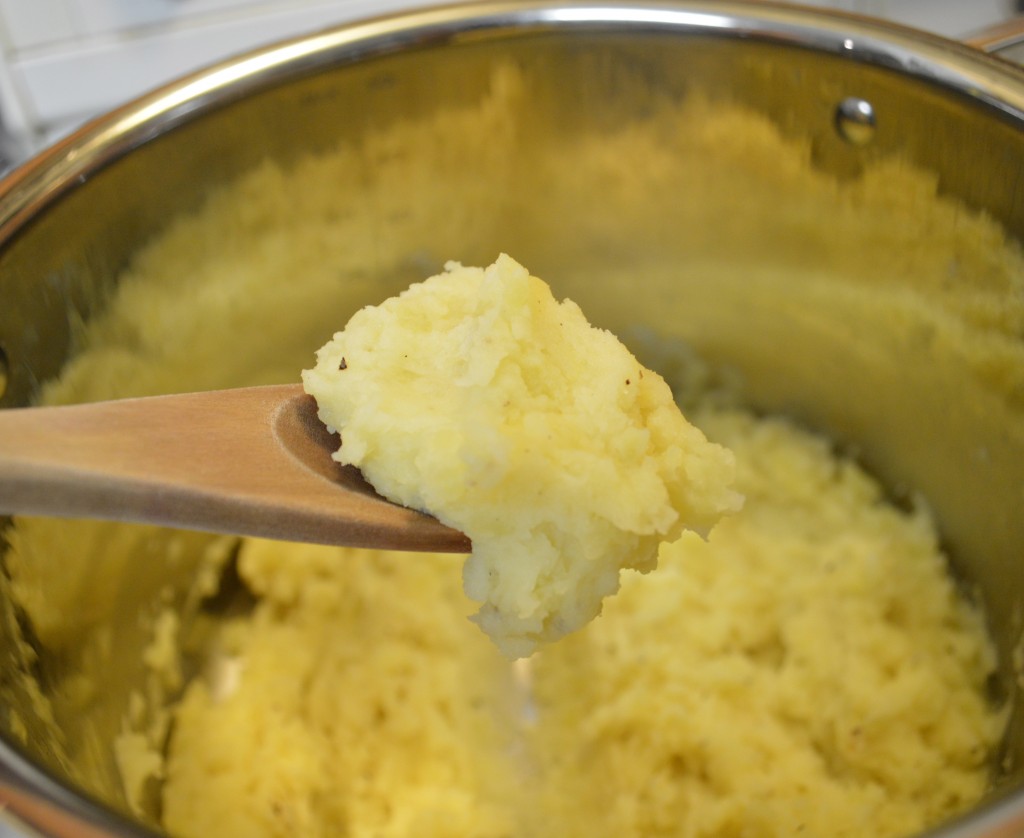
Usually I would just throw in the milk and butter all together but I did not want them to absorb all the milk too quickly and become gluey. Butter first to coat the potatoes and then the warmed milk. I was generous with the seasoning (taste as you go always!) and literally stood in front of the pot taking heaping spoonfuls of potatoes. Practice some self-control if you can (I managed to only mildly burn the roof of my mouth) but these potatoes were soooo good. Served alone or top with Mushroom Gravy, either way this is no gluey spud. I just made this recipe for Mark and I but this recipe double or triples very easily if you are serving for a crowd. See my tip for keeping your potatoes warm when serving a crowd.

Serves 4 side dishes

  •  2 pounds Yukon gold potatoes (about 4 medium sized potatoes)
  • 4 tablespoons Earth Balance Traditional Butter
  • 1/3 cup soy creamer (I used Silk, this may seem like a lot but when researching I saw a recipe have a whole stick of butter plus cream)
  • 1/3 cup unsweetened almond milk
  • Salt and pepper, to taste (I usually put in the measurement but with potatoes it is very much a matter of personal taste, just remember to taste as you go and add little bits at a time. You can add more but can’t take it out if you add too much)

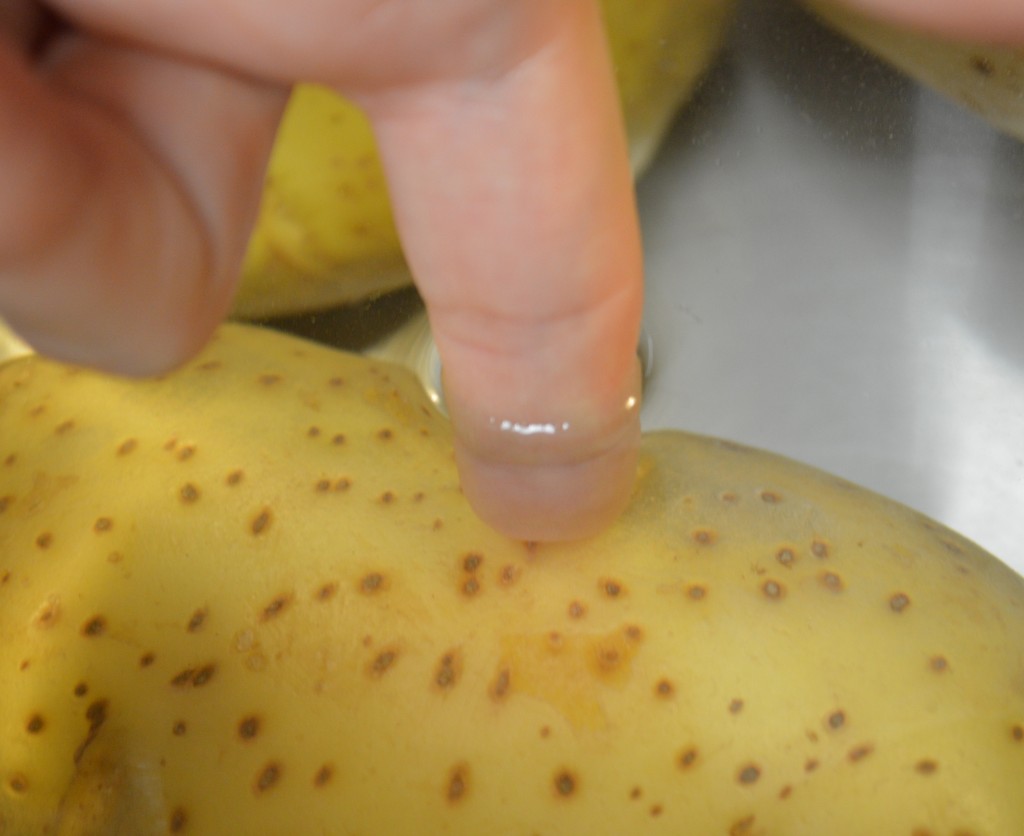
Place potatoes in a large pot and top with water. The water should fill up to 1 inch above the largest potato. To check, I placed my finger in the water and it came up to the first knuckle.

DSC_0785


Bring to boil on high heat and then turn down the heat to medium and allow to simmer for about 25-30 minutes depending how large your potatoes are. Use a fork to test the doneness of your potatoes, not a knife since it can just cut through it. When the potatoes are fully cooked, drain over a colander and rinse with cold tap water. While the potatoes are cooling slightly, add the cream and milk into a small pot and warm over medium low heat.

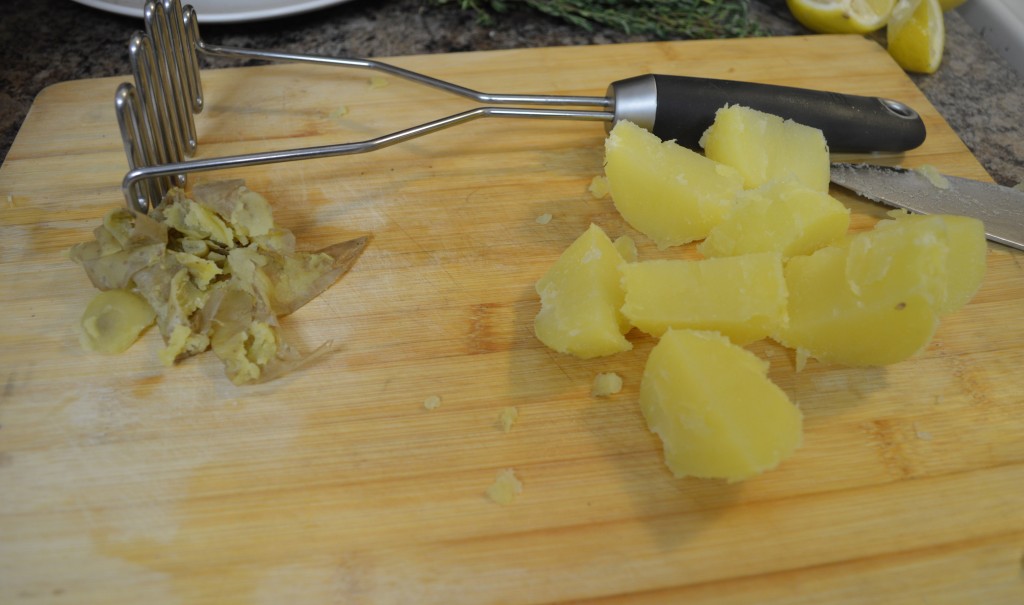
When cool enough to handle, the skins should peel off without the need for a vegetable peeler. Chop in half lengthwise and then chop into quarters.

DSC_0809


Return the empty pot to the burner and set on med low. In the pot, add the half of the butter and melt. Add half of the chopped potatoes and with a masher, mash into the butter. Repeat with the other half. Add the warmed cream mixture and mix until incorporated but do not over mash. Season with salt and pepper to taste. Serve piping hot.

DSC_0813

To keep warm for the large party, transfer to a slow cooked and keep on a low heat. If they become dry, add more butter and milk until desired consistency.

Cinnamon and Pear Cranberry Sauce

I never thought I would ever like cranberry sauce. To me, it was that dusty can at the back of the shelf that would appear at Thanksgiving and plopped in a bowl last minute. My dad especially loved the jellied cranberry sauce. He would open the can, turn it upside down onto a serving plate and I would watch the jelly mold slowly slip out of its casing. The mold had the same grooves on it as the can did. He would then cut it into thick slices and put it all over his festive dinner. No wonder I didn’t think I would ever like cranberry sauce since this was all I knew of it. Thankfully much later in life, I would be introduced to homemade cranberry sauce. Tart berries bursting in a sweetened sauce, how heavenly in comparison to what I had known. I was invited to a potluck one year and everyone was assigned an item to bring. I bought the pies and to my horror someone had bought canned jellied cranberry sauce. After this event I always assigned myself to bring the cranberry sauce. It is super easy and quick to make (I did not tell other potluckers this). I wanted something a little more sophisticated to impress my friends and starting playing around with the classic recipe. I use to like cran-apple juice a lot and wanted to see how apples would taste in the sauce. Unfortunately at the time, I did not have any apples in my fridge but I had two firm bartlett pears that I quickly substituted. I added a touch of cinnamon since pears and cinnamon go well together and voila! Fancy pants cranberry sauce however calling it this out loud may not sound so classy. If you want a traditional cranberry sauce, just omit the pear and cinnamon.

Makes 3.5 cups

  •  2 firm bartlett pears, peeled, cored and chopped
  • ¼ teaspoon ground cinnamon
  • 1 cup water
  • 1 cup evaporated cane sugar
  • 1 12 ounce bag fresh cranberries, picked through and rinsed (I used Ocean Spray since it is readily available in most grocery stores this time of year)

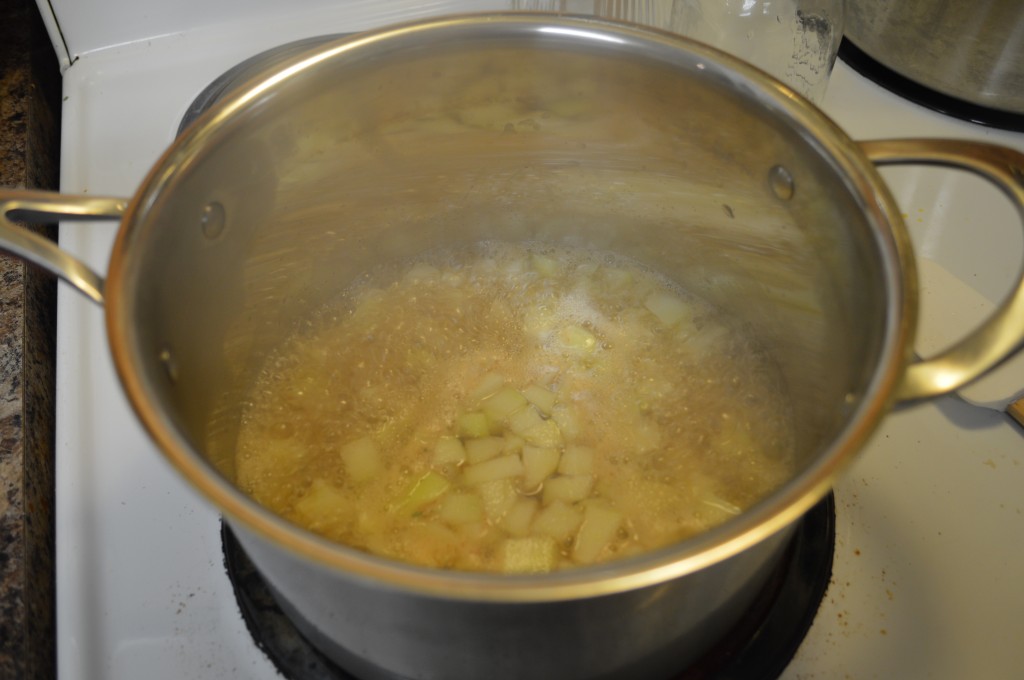
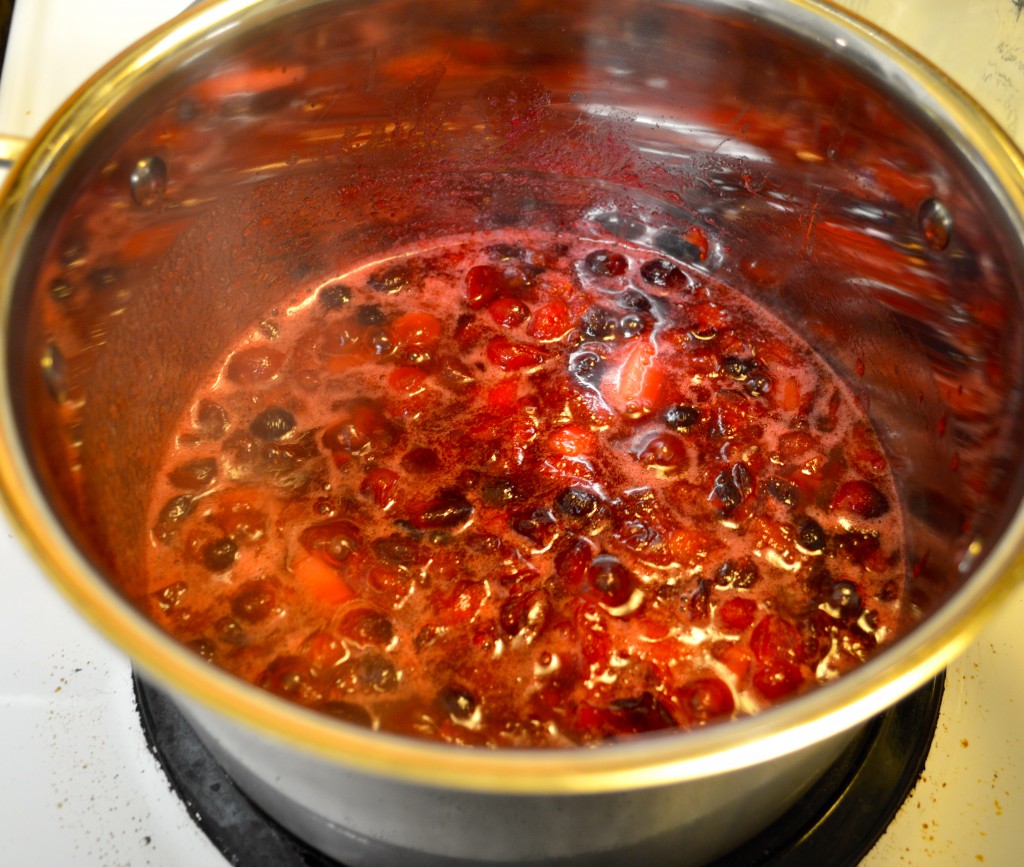
In a medium saucepan, add the chopped pears, cinnamon, water and sugar to a boil over high heat.

DSC_0619


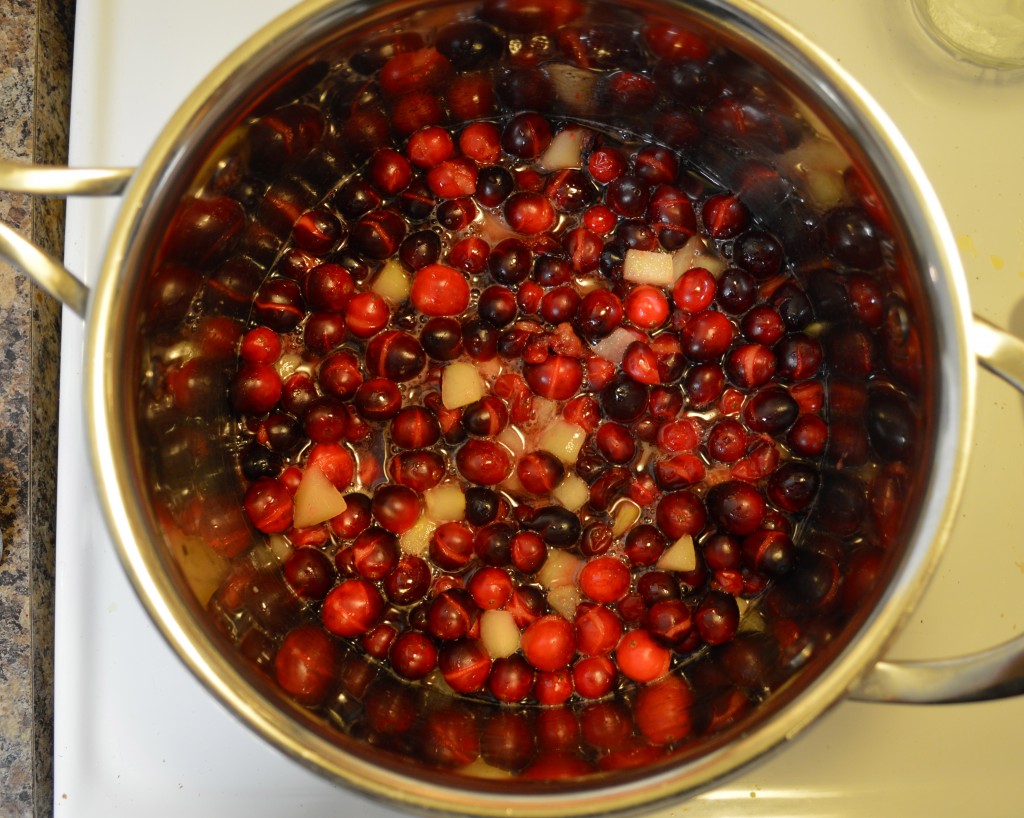
Stir in cranberries and return to boil.

DSC_0620


Turn heat down to medium and allow to simmer for about 7 minutes until most of the berries have burst.

DSC_0622

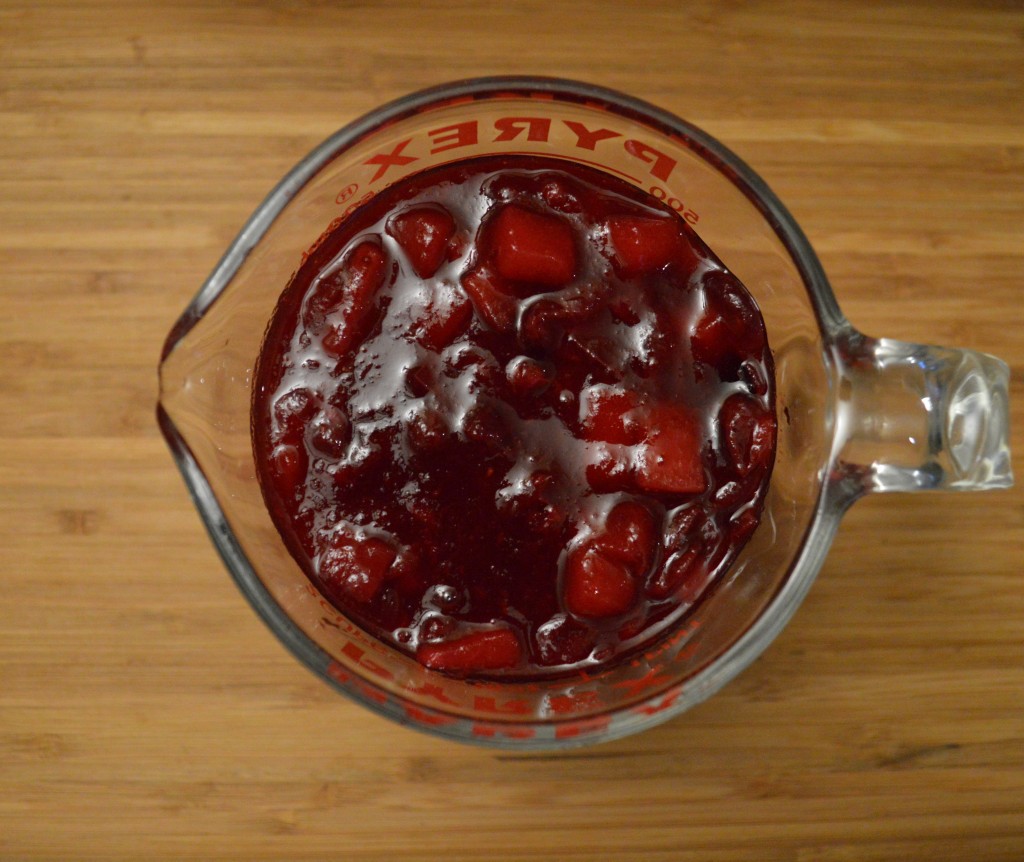
The sauce will thicken as it cools. Transfer to serving dish and bring down to room temperature. Serve.

DSC_0673

How easy was that? No more canned sauce for this girl. What is/was the most dreaded holiday food item for you?

Hummus Two Ways: Roasted Garlic Hummus and Oil-free Roasted Red Pepper Hummus

I feel most people have seen and eaten the good, the bad and the ugly versions of hummus. The most ugly hummus I have had was at a falafel place that was open very late and I stumbled into the shop very inebriated but even in my state of wobbliness I knew the hummus was terrible. The not-so-great versions are the tubs that are found in the refrigerated section of most grocery stores. To me, these just taste so bland and though I buy them for their convenience I certainly do not enjoy them as much as homemade hummus. You do not need to be a pro to make this and the only kitchen tool you need is a blender or food processor. Did I mention it is quick? And much cheaper than the pre-packaged kind? And tastes better? I usually make a batch of hummus every week or so to spread on wraps, dip vegetables in or as a filling in pita bread.

In this recipe, I am using cooked dried beans since I make a large batch of chickpeas weekly. I replaced the oil found in most hummus with the cooking water from the beans. I got the idea from a pasta sauce recipe as odd as it sounds. To thin out of thick pasta sauce, the recipe suggested adding the pasta cooking water to the sauce to give it a better consistency. I tried this with the chickpea cooking water and I received a wonderfully smooth and flavorful hummus. You can use canned chickpeas but I would suggest using some olive oil to boost flavour and obtain a good texture.

 Roasted Garlic Hummus

The only oil in the hummus is from the roasted garlic and it is very minimal (2-3 teaspoons in the ~2 cups of hummus)

  •  1½-tablespoons fresh lemon juice
  • 4 tablespoons tahini (sesame paste)
  • 5 tablespoons roasted garlic, mashed with a fork (about 2-3 heads, depending how large the garlic heads are. Reserve a roasted garlic clove for garnish. How to Roast Garlic)
  • ½ teaspoon kosher salt
  • 2 cups cooked chickpeas (How to Cook Dried Beans)
  • 1/3 cup chickpea cooking water

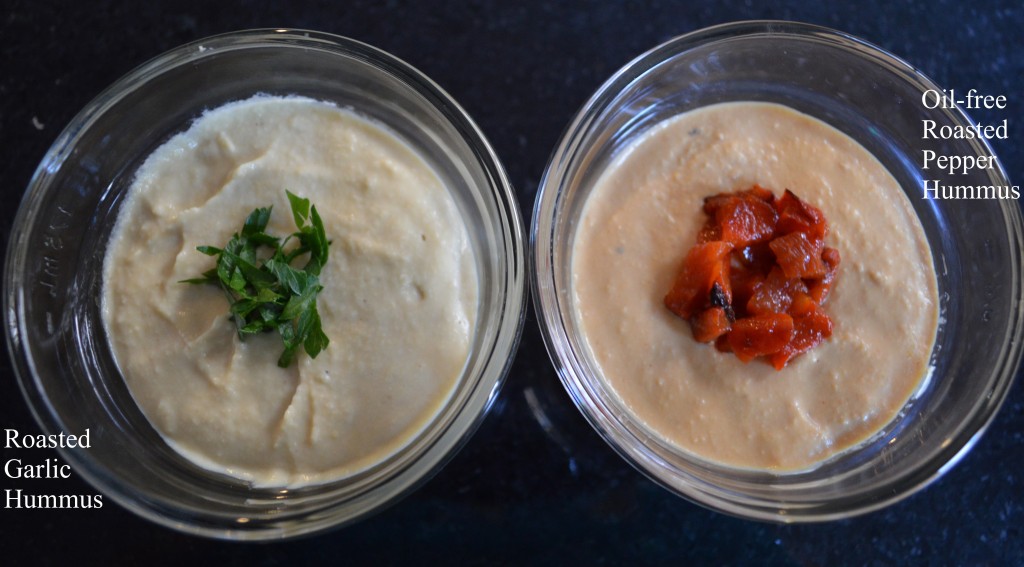
Place all the ingredients except cooking water in blender or food processor. Blend until fairly smooth, scraping the sides as needed. With the blade running, in a steady stream slowly add the cooking water. Blend until very smooth, about 1-2 minutes depending how powerful your blender is. Transfer to bowl, cover and refrigerate for at least 30 minutes so the flavours can meld together. I topped mine with 1-tablespoon parsley but 1 roasted garlic clove would be an excellent topper too.

Roasted Red Pepper Hummus

  •  1-tablespoon fresh lemon juice
  • 4 tablespoons tahini (sesame paste)
  • 1/3 cup roasted red pepper strips + 1-tablespoon chopped for garnish (How to Roast Bell Peppers)
  • ½ teaspoon kosher salt
  • 2 cups cooked chickpeas (How to Cook Dried Beans)
  • 1/3 cup chickpea cooking water

Place all the ingredients except cooking water in blender or food processor. Blend until fairly smooth, scraping the sides as needed. With the blade running, in a steady stream slowly add the cooking water. Blend until very smooth, about 1-2 minutes depending how powerful your blender is. Transfer to bowl, cover and refrigerate for at least 30 minutes so the flavors can meld together. Top with 1 tablespoon chopped roasted bell pepper.

DSC_0587

Variation: Add ½ teaspoon hot curry powder to the red pepper hummus for a sweet and spicy flair.

What type of hummus is your favourite? Favourite brand of hummus or a homemade variation of your own? Do you always use chickpeas or have another hummus like dip with another bean? Feel free to leave your comments below!

How to Roast Bell Peppers

These are far superior to jarred roasted peppers. Jarred peppers are usually preserved in oil and I wanted a lighter version but still flavorful. Thankfully these are very easy and quick to make at home. I have an electric oven so I must make mine under the broiler. Yellow and orange peppers cook a little faster than red so keep a careful eye on them. I tried roasting green peppers but it isn’t worth your time. Use these in soups, pasta sauces, hummus, tofu scrambles, salads or on a antipasta platter.

Set oven on broiler. Cut ¼ inch from the top of the pepper and remove stem from the top slice. Pull core out of pepper and any seeds that have fallen in. Cut peppers in half and remove ribs of the pepper. Cut two slits on the bottom of the peppers so they can lay flat. On a heavy-duty baking sheet lined with parchment paper or tin foil, lay peppers skin side up and flatten them with your hands.

DSC_0504

Broil for 7-10 minutes keeping a careful eye on them, you want the skin to be charred but do not want the pepper to be burnt.

DSC_0508

Transfer peppers to a bowl and cover with a plate. The steam from the peppers will help lift the skins. When cool enough to handle, gently peel the skins off the peppers and discard the skins. Cut peppers into thin strips. Store in the fridge until ready to use.

DSC_0519